
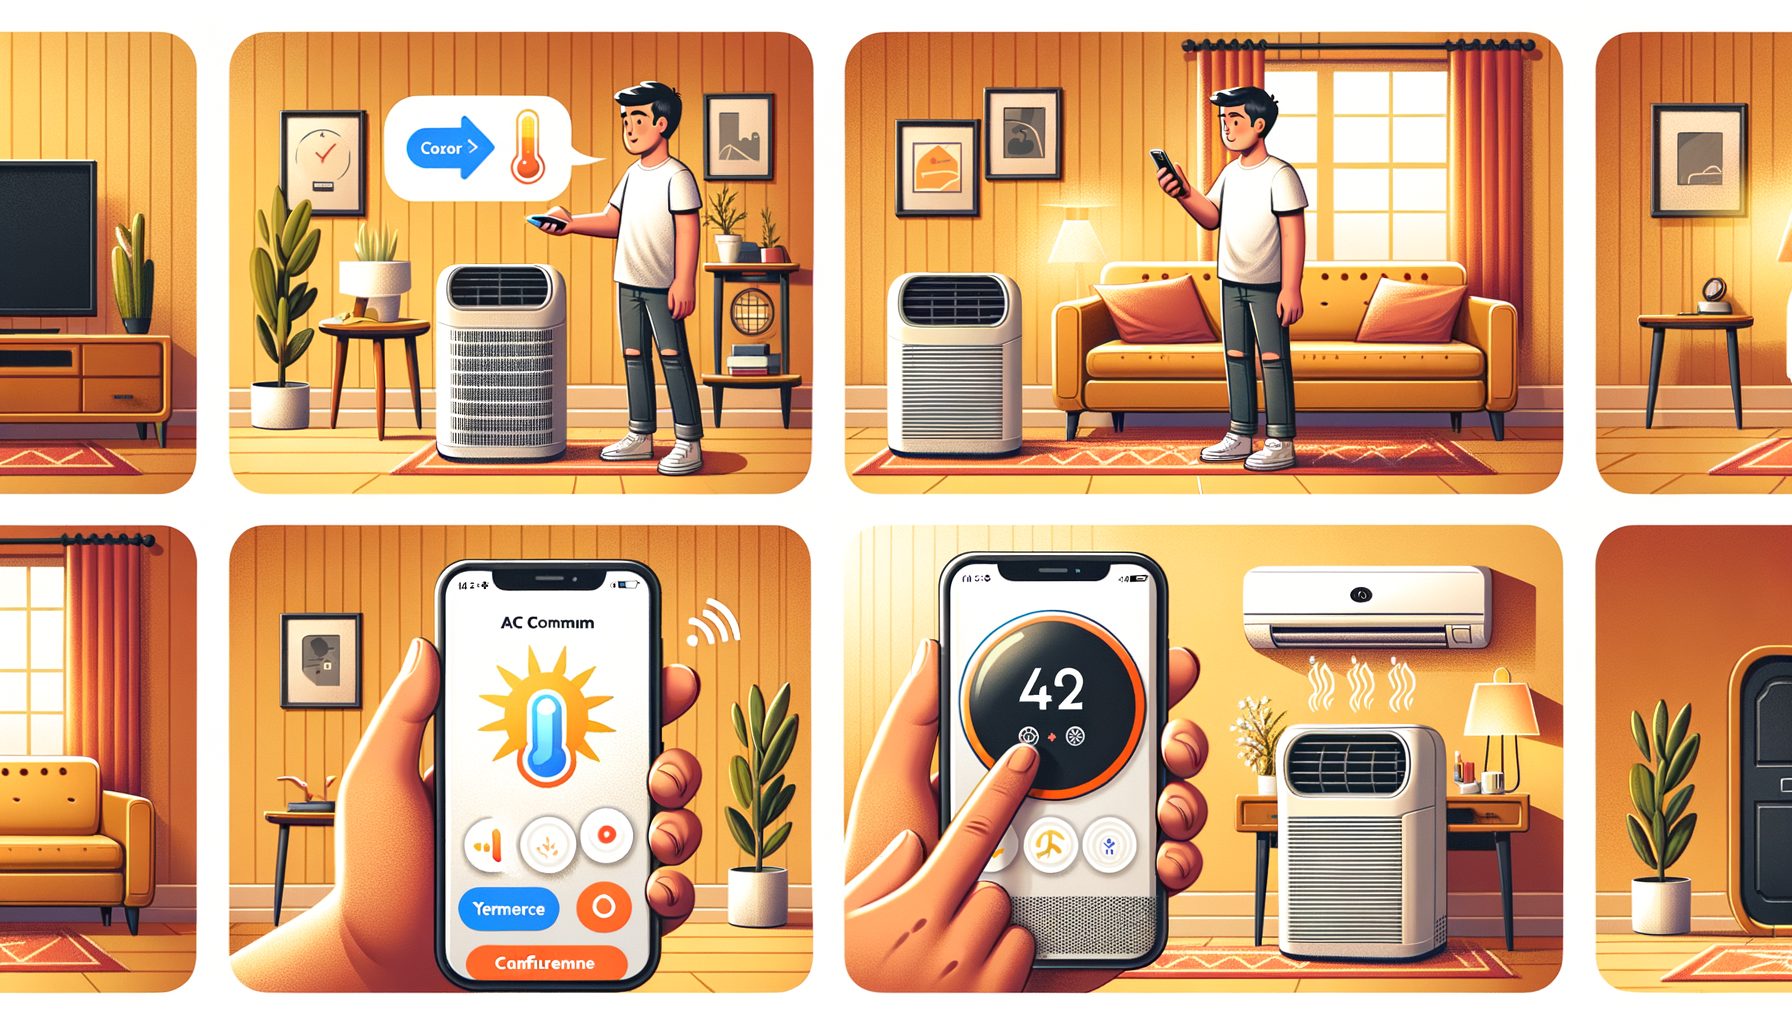
You bought an air conditioner to feel comfortable—not to juggle remote controls or walk across the room every time you want to tweak the temperature. The good news: turning your existing unit into a voice-controlled AC is easier than you think. Whether you own a brand-new smart air conditioner or a trusty older model with an infrared remote, you’ll learn exactly how to set up voice control with Alexa, Google Assistant, or Siri—and how to get real energy savings without headaches. If you can install a phone app and read a Wi‑Fi password, you can handle it.
Understand Your AC and Choose the Right Smart Path
Before you start, identify what type of air conditioner you have and how it currently operates. Doing so determines the smartest (and cheapest) path to voice control.
Here are the most common scenarios:
1) Wi‑Fi–enabled smart AC (built-in): Many modern units from brands like LG, Samsung, Daikin, Mitsubishi, and Midea include Wi‑Fi and app control out of the box. If your AC’s box or manual mentions “Wi‑Fi,” “Smart,” or specific platforms (Alexa, Google, Apple Home), you’re already halfway there. Setup usually involves adding the AC to the manufacturer’s app and linking the app to your voice assistant. It’s the simplest path to voice-controlled AC—no extra hardware required.
2) IR (infrared) remote AC (mini-split, portable, or window): If your remote points at the AC and needs line-of-sight, an add-on “smart AC controller” (also called IR blaster or smart thermostat for mini-splits) can mimic your remote and connect it to Wi‑Fi. Popular choices include Sensibo Sky/Air, Ambi Climate, Cielo Breez, and Tado Smart AC Control. These devices bridge your AC to the internet and then to Alexa/Google/Siri. It’s the most flexible route for older units.
3) Mechanical-knob window AC: Some basic window units have physical dials that stay “on” when power is restored. Pairing them with a heavy-duty smart plug (properly rated for the AC’s amperage) enables simple on/off voice control. You won’t get temperature setpoints or modes via voice, but it’s cost-effective. Avoid using smart plugs with modern electronic-remote ACs unless the manufacturer explicitly supports it—cutting power abruptly can stress compressors.
4) Central HVAC: If your home has central air, a smart thermostat (e.g., Google Nest, Ecobee) is often the best voice-control pathway. For ductless mini-splits, look for brand-specific adapters or a dedicated IR controller that supports thermostat-like features. Always check wiring (C-wire requirement) and voltage compatibility before installation.
Decision tip: If you want full control—set temperature, mode, fan speed—go with a built-in Wi‑Fi AC or an IR smart controller. If your goal is “simple on/off with voice,” a compatible smart plug may be enough. In all cases, check voice assistant support and regional availability; some brands enable features by region. Finally, factor in privacy and reliability: Wi‑Fi devices that support local control (via platforms like Apple Home or Home Assistant) can keep more functionality working even if the internet blips.
Step-by-Step Setup: From App to First Voice Command
Follow these steps based on your chosen pathway. Allow 30–60 minutes, including testing and updates.
A) Wi‑Fi smart air conditioner (built-in)
– Install the manufacturer’s app (e.g., LG ThinQ, Samsung SmartThings, Midea Air). Create an account and enable two-factor authentication.
– Connect the AC to your 2.4 GHz Wi‑Fi network (most ACs do not support 5 GHz). The app will guide you to put the AC in pairing mode (often pressing a Wi‑Fi or power button sequence). Stand near the unit during pairing.
– Once paired, update firmware in the app. Then name the device clearly (e.g., “Bedroom AC”). Names should be short and specific; they matter for voice commands.
– Test in-app control: on/off, temperature setpoint (°C/°F), modes (Cool, Dry, Fan, Auto), and fan speeds. Make sure everything responds promptly.
B) Smart AC controller (IR blaster)
– Choose a controller known to support your AC brand/model (Sensibo, Ambi Climate, Cielo Breez, or Tado). Place it with clear line-of-sight to the AC’s IR receiver—typically within 2–5 meters. Avoid placing it inside cabinets or behind plants.
– Power the controller (USB or wall) and add it to the vendor’s app on 2.4 GHz Wi‑Fi. Select your AC brand. Many controllers have cloud libraries; if auto-detection fails, use “learn” mode to capture signals from your existing remote.
– Calibrate temperature/humidity sensors if available. Some controllers support “follow me” or “comfort” modes that regulate temperature based on where people are.
– Test commands for on/off, setpoint changes, mode, swing, and fan speed. If the AC doesn’t respond, adjust IR placement or retry the code library.
C) Smart plug (mechanical-window AC only)
– Confirm your unit uses mechanical knobs that remain on after power loss. Verify the AC’s amperage and choose a smart plug that exceeds the current draw and is rated for inductive loads. Keep in mind that compressors have high inrush current at start-up.
– Add the plug to its app, name it (e.g., “Office AC Plug”), and test on/off. Set a “power-on default” state if the app supports it. Avoid rapid toggling—wait a few minutes between off and on to protect the compressor.
D) Central HVAC smart thermostat
– Check wiring compatibility and whether you have a C-wire (common). If not, use a C-wire adapter or consult a professional. Follow the manufacturer’s installation guide carefully.
– After installation, connect it to Wi‑Fi and your voice assistant platform. Test heating/cooling modes, schedules, and temperature control.
Troubleshooting quick wins:
– If pairing fails, ensure your phone is on the same 2.4 GHz network, temporarily disable VPNs, and stand near the device.
– Turn off router “AP isolation” and ensure the device isn’t blocked by MAC filtering. If your SSID is separated into 2.4 and 5 GHz, choose the 2.4 GHz explicitly.
– For IR controllers, move the device closer or slightly offset angle so the LED points at the AC’s sensor. Replace remote batteries before learning codes.
Connect to Voice Assistants: Alexa, Google, and Siri the Right Way
Once your AC works in its app, link it to your voice assistant for hands-free control and automations that feel like magic.
Amazon Alexa
– Open the Alexa app, go to “Skills & Games,” and search for your AC brand or controller (e.g., “LG ThinQ,” “Midea Air,” “Sensibo,” “Cielo Home,” “Tado”). Enable the skill and sign in with the same account you used earlier.
– Tap “Discover Devices.” Assign the AC to a room group (e.g., “Bedroom”). Set the device type to “Air Conditioner” if available.
– Try commands: “Alexa, turn on Bedroom AC,” “Alexa, set Bedroom AC to 24 degrees,” or “Alexa, set Bedroom AC to cool mode.” Build Routines (e.g., at sunset, turn on; at bedtime, set to 25 °C/77 °F). Learn more from Amazon’s smart home guide at Amazon Alexa Smart Home.
Google Assistant
– In the Google Home app, tap “+” > “Set up device” > “Works with Google,” then search and link your AC brand or controller service. Assign the device to a room for better context.
– Use commands: “Hey Google, turn on the bedroom air conditioner,” “Set the bedroom AC to 24 degrees,” “Set mode to dry.” Create automations under the Automation tab to schedule or trigger by sunrise/sunset. See Google Home device linking.
Apple Siri (HomeKit and Shortcuts)
– If your AC or controller is HomeKit-compatible, scan the HomeKit QR code to add it to the Apple Home app. Assign a room and set favorite scenes like “Cool Down.”
– If there’s no native HomeKit support, check whether the vendor supports Siri Shortcuts; you can trigger app actions via voice. Advanced users can bridge non-HomeKit devices through platforms like Home Assistant or Homebridge. Learn more at Apple Home support.
Naming, scenes, and routines
– Keep names short and unambiguous: “Bedroom AC,” not “My Super Cool Bedroom Air Conditioner.”
– Create scenes like “Focus” (22 °C/72 °F, medium fan) or “Sleep” (26 °C/79 °F, quiet). Attach scenes to schedules, geofencing, or sunrise/sunset triggers.
Privacy and security basics
– Use strong passwords and 2FA on all accounts. Consider placing IoT devices on a guest or IoT Wi‑Fi network. Regularly update firmware.
– If you prefer local control and fewer clouds, explore Home Assistant to integrate devices locally where possible.
Optimize for Comfort, Health, and Energy Savings
Voice-controlled AC is convenient, but the real power is automation. Smart schedules, geofencing, and small setpoint tweaks can cut bills, reduce emissions, and improve sleep quality.
Scheduling and geofencing
– Weekday/weekend schedules: Pre-cool before you arrive, then shift to an eco setpoint when you leave. Geofencing in many apps can auto-switch modes as your phone arrives or leaves home.
– Night comfort: Warmer early evening, cooler at bedtime, and a gentle warm-up toward morning for better sleep with less energy.
Smart modes and sensors
– Use “Dry” mode in humid climates when temperature is okay but the air feels sticky. Dry mode often uses less energy than full cooling.
– Many smart AC controllers offer “Comfort” or “Comfy” modes that maintain a temperature range using built-in sensors. If your controller supports external Bluetooth sensors, place one near your bed or sofa to regulate the temperature where you actually are.
Setpoint strategy
– Each 1 °C (≈2 °F) increase in cooling setpoint can reduce energy use by roughly 3–5% depending on climate and insulation. Even small changes add up in hot months.
Maintenance and airflow
– Clean or replace filters every 1–3 months in heavy use. Blocked filters waste energy and reduce comfort.
– Keep vents clear and ensure good airflow. For portable or window units, seal gaps around the unit to prevent hot air infiltration.
Estimated impacts
– A typical 1,000–1,500 W room AC running 6 hours/day in summer uses roughly 6–9 kWh per day. Raising the setpoint by 1–2 °C and using schedules can shave meaningful kWh.
Quick reference table
| Action | Typical Impact | Notes |
|---|---|---|
| Increase setpoint by 1 °C (≈2 °F) | ~3–5% less cooling energy | Varies by climate and building; compounds with other steps |
| Use schedules/geofencing | ~5–10% annual savings | Based on not cooling empty rooms; more in hot regions |
| Clean filter regularly | Improved airflow and efficiency | Prevent unnecessary runtime and noise |
| Dry/Dehumidify mode when appropriate | Lower energy vs full cooling | Great for humid days with moderate temperatures |
For deeper guidance on efficient cooling, see U.S. DOE: Room Air Conditioners and ENERGY STAR AC resources. If you want to estimate emissions, check electricity factors for your country at Our World in Data: Electricity CO₂ intensity.
Q&A: Common Questions About Voice-Controlled AC
Q1: Can any AC become voice-controlled?
A: Almost. Built-in Wi‑Fi units link directly. IR-remote ACs work with smart controllers (Sensibo, Ambi Climate, Cielo Breez, Tado). Simple mechanical window units can use a properly rated smart plug for on/off. Central systems pair with smart thermostats. Always check compatibility first.
Q2: Do I need 2.4 GHz Wi‑Fi?
A: Most smart ACs and controllers require 2.4 GHz. Some support dual-band, but 2.4 GHz is standard because it has longer range and better wall penetration. Use the same SSID and ensure your phone connects to 2.4 GHz during setup.
Q3: Is fast on/off via voice bad for the compressor?
A: Rapid cycling can stress compressors. Wait a few minutes between off and on commands. Many apps build in minimum off-time protection. Avoid using a smart plug to power-cycle electronic ACs unless the manufacturer supports it.
Q4: Will voice control work if my internet is down?
A: It depends. Some platforms support local control (HomeKit, certain integrations in Home Assistant, or device-specific LAN control). Cloud-only devices need internet for voice commands. App control on the same network may still work in some cases.
Q5: How much does setup cost?
A: If you already have a Wi‑Fi AC, linking is free. IR controllers cost roughly US$50–150. Heavy-duty smart plugs are around US$15–40. Smart thermostats range from US$100–250. Choose the path that matches your desired features and budget.
Additional helpful links:
– Sensibo | Cielo Breez | Tado
– LG ThinQ | Samsung SmartThings | Midea
Conclusion: Make Your Air Smarter Today
You started with a simple goal: control your AC with your voice and stop wrestling with remotes. By now, you’ve seen the full playbook. First, identify your AC type and pick the smartest path—built-in Wi‑Fi for newer units, an IR smart controller for most mini-splits and portables, a heavy-duty smart plug for mechanical window units, or a smart thermostat for central systems. Next, connect your device to reliable 2.4 GHz Wi‑Fi, name it clearly, and test fundamental commands in the app. After that, link it to Alexa, Google Assistant, or Siri, and create scenes and routines that match your lifestyle—cooler for sleep, eco mode when you’re out, and dry mode when humidity spikes.
Don’t stop at convenience. Use schedules, geofencing, and smart modes to cut energy use by 5–10% or more, and bump your setpoint by 1–2 °C (2–4 °F) for extra savings without sacrificing comfort. Place controllers where they see the AC’s IR sensor, keep filters clean, and protect your compressor by avoiding rapid on/off cycles. If privacy and reliability matter to you, explore local-control options and keep firmware updated. With just a few steps, faster comfort will be yours—and bills can drop.
Your next action: choose your path and set it up this weekend. If you already have a Wi‑Fi AC, link it to your voice assistant now—it takes minutes. If you need an IR controller or smart plug, pick one that matches your unit and order it today. As soon as it arrives, follow the steps above, and you’ll be saying “Turn on Bedroom AC” like a pro.
Comfort should be effortless—and now it can be. Ready to make your air smarter and your day smoother? Which room will you upgrade first?
Sources:
– U.S. Department of Energy – Room Air Conditioners: https://www.energy.gov/energysaver/room-air-conditioners
– ENERGY STAR – AC resources: https://www.energystar.gov/products/room_window_central_ac_units
– Amazon Alexa Smart Home: https://www.amazon.com/alexa-smart-home
– Google Home device linking: https://support.google.com/googlenest/answer/9159862
– Apple Home support: https://support.apple.com/apple-home
– Home Assistant: https://www.home-assistant.io/
– Our World in Data – Electricity CO₂ intensity: https://ourworldindata.org/grapher/co2-intensity-electricity